
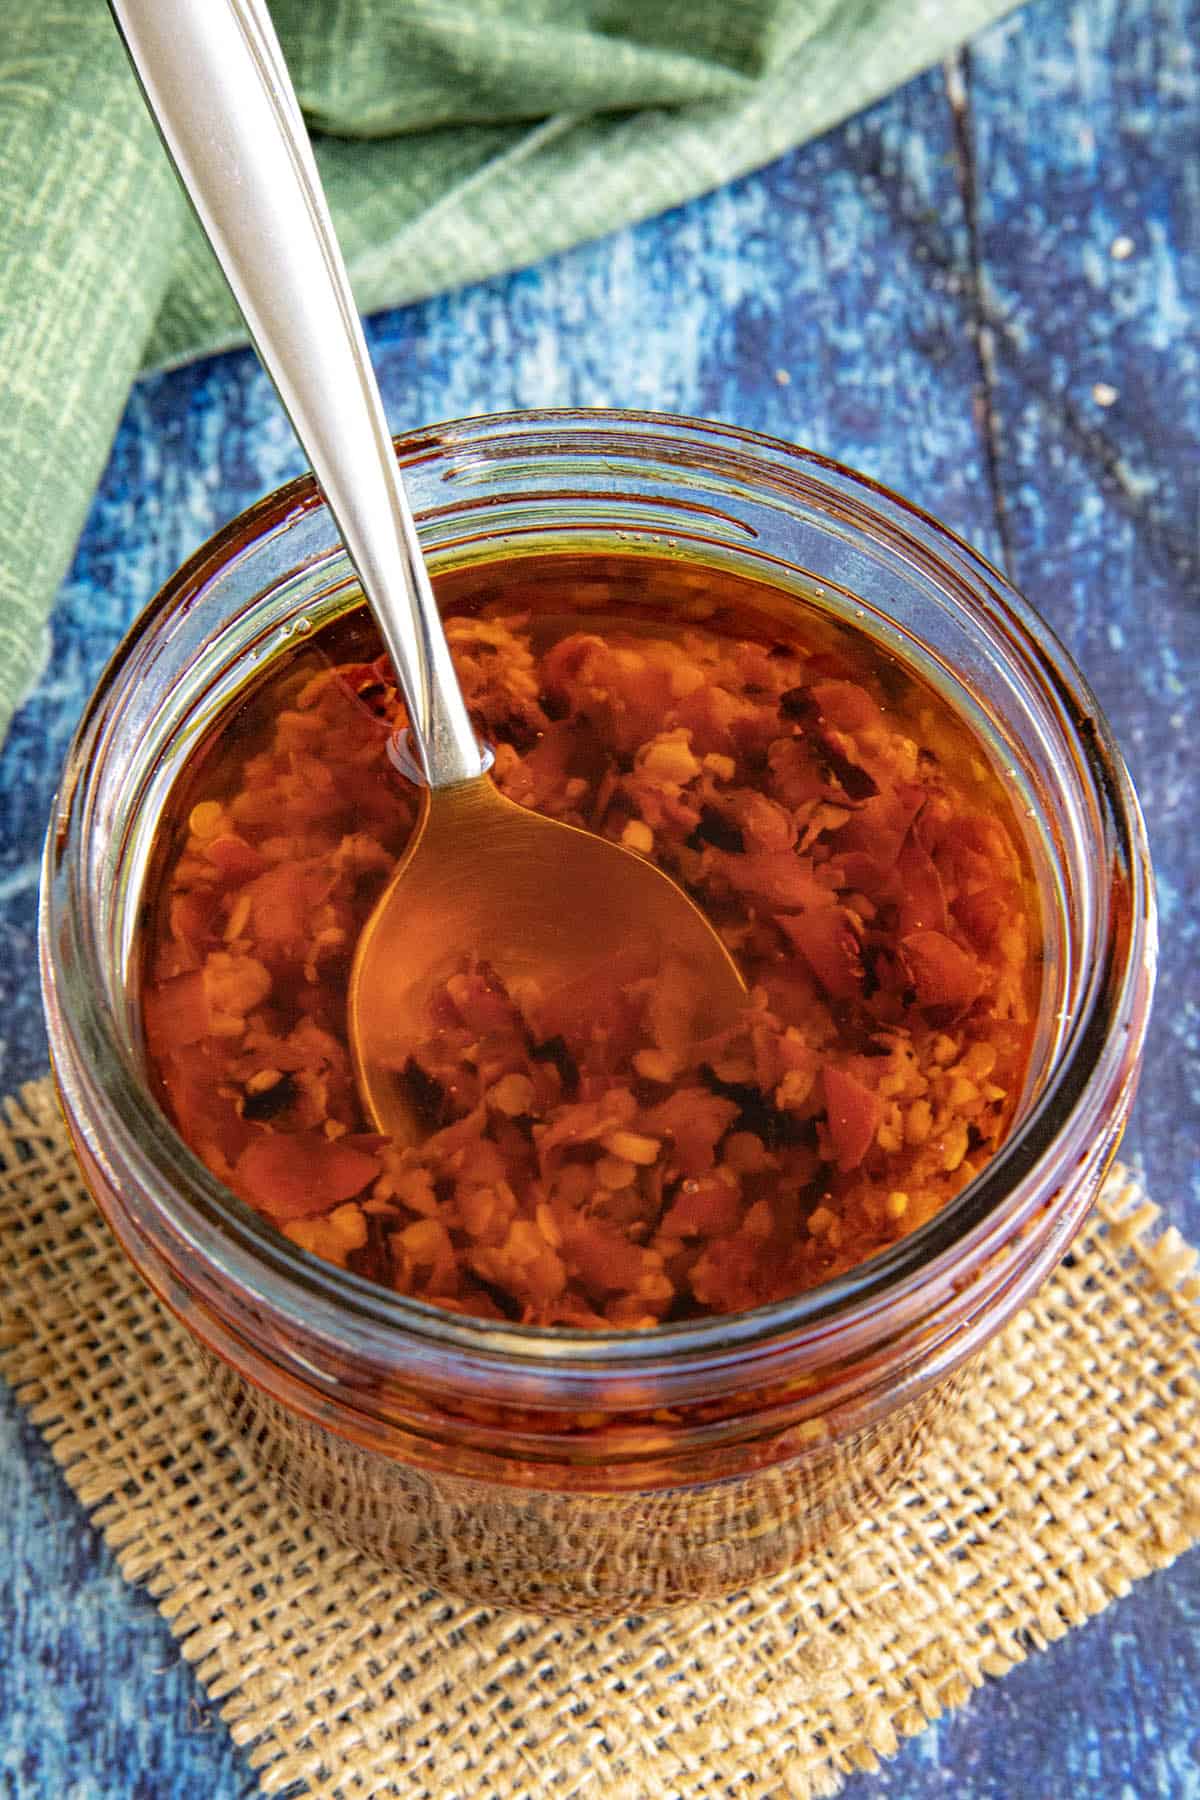
Bold homemade chili crunch made with serrano peppers and garlic. It's spicy, crispy, and packed with flavor, perfect as a topping or base for variations. It adds the perfect punch to noodles, eggs, rice bowls, and everything in between.
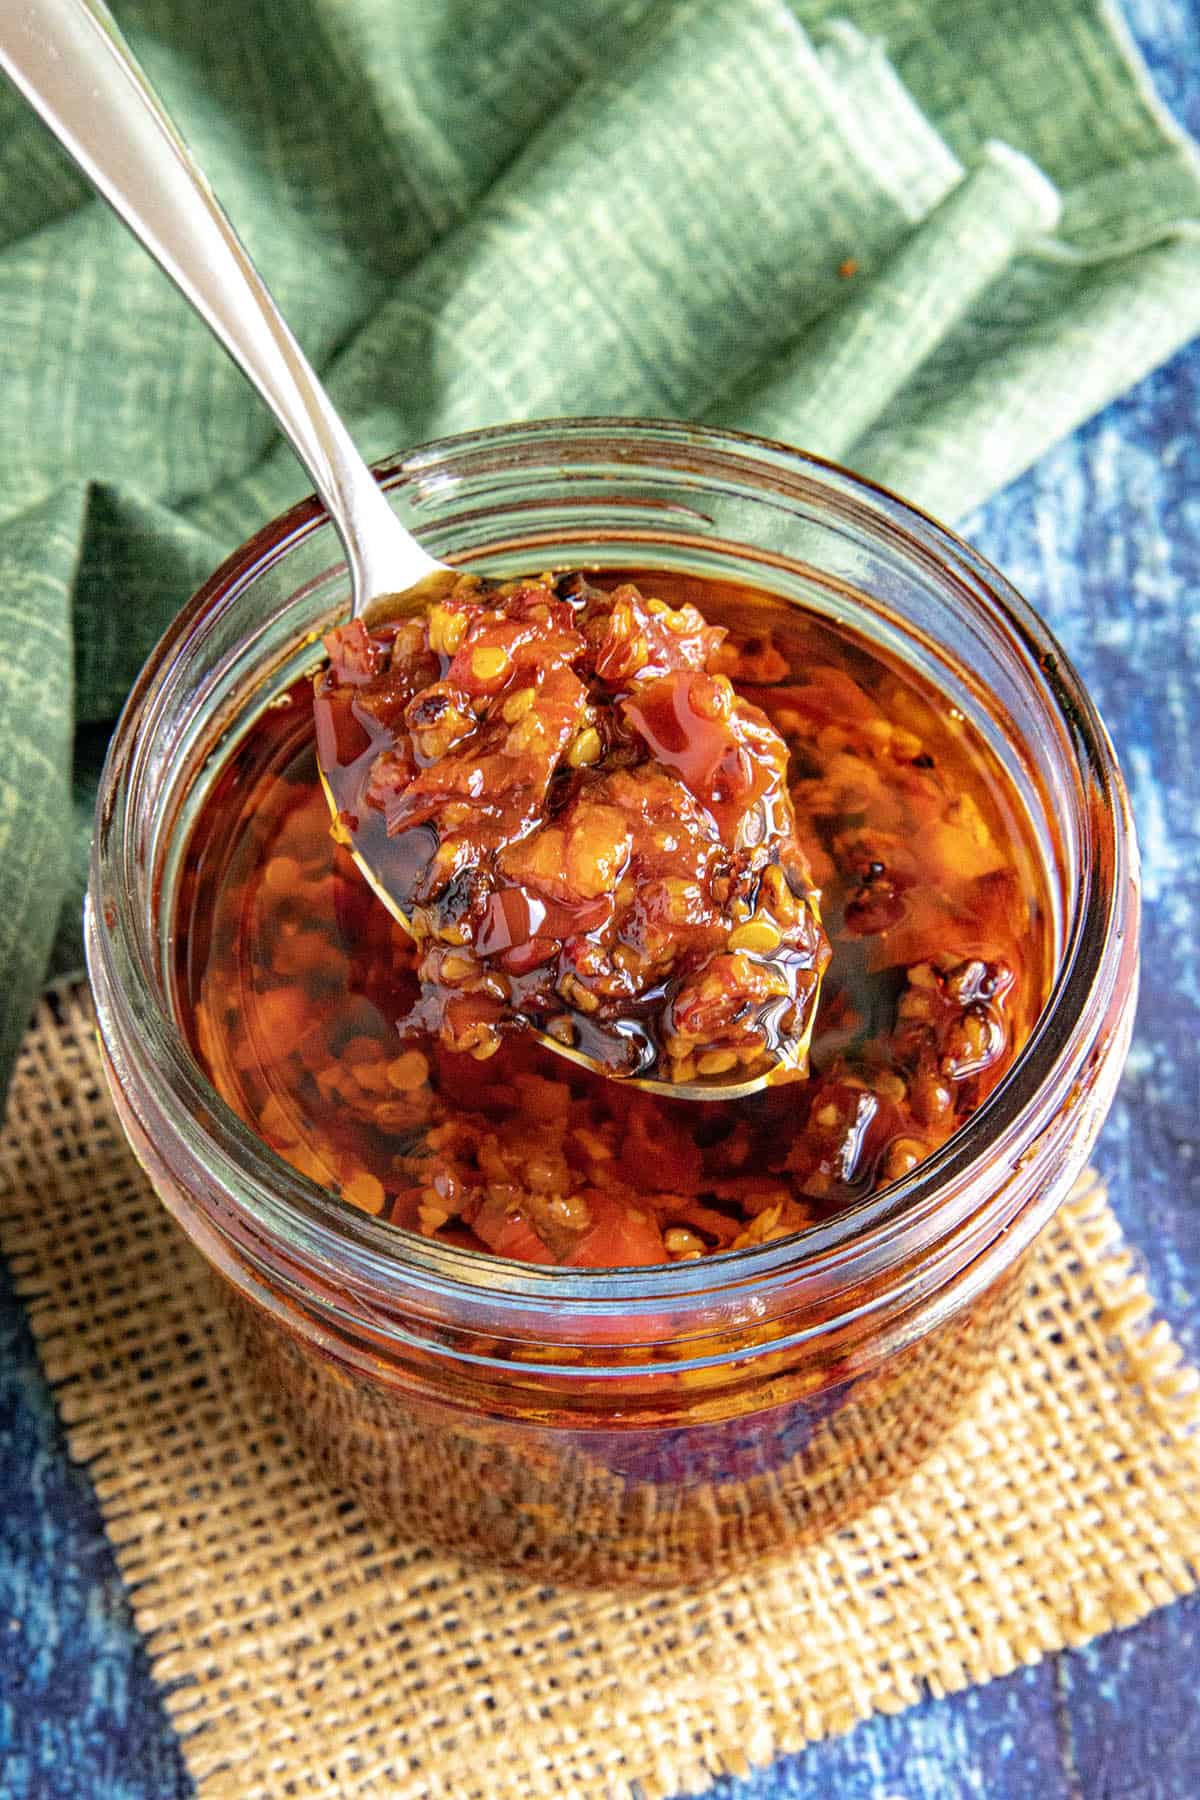
This Serrano-Garlic Chili Crunch is going to be your new favorite condiment, loaded with fiery heat, garlicky goodness, and those irresistible crunchy bits.
Made with fresh red serranos from my garden, it's the kind of flavor bomb you’ll want to spoon over everything from eggs and noodles to tacos and grilled meats.
Once you make it, you'll never be without a jar in the fridge.
Let's make some chili crunch!
What You’ll Love About This Recipe
- Few Ingredients, Big Flavor. All you need are chilies, garlic, oil, and salt, but the payoff is huge.
- Customizable Heat and Crunch. Use more serranos or garlic for extra crispy bits. Use hotter or milder chilies to adjust the heat. Make it your own.
- Ridiculously Versatile. Spoon it on eggs, rice bowls, tacos, noodles, anything!
- Better Than Store-Bought. No fillers, no preservatives, just bold homemade flavor.
Serrano-Garlic Chili Crunch Ingredients
The full ingredients list with measurements is listed in the printable recipe card at the bottom of the post.
- Vegetable Oil. Use good quality oil, especially one with a flavor you already enjoy, which will make a big impact. You can use olive oil, though a neutral oil will better highlight the chili and garlic flavors.
- Chili Peppers. I'm using serrano peppers for this, but you can use other chilies. See "Mike's Recipe Tips & Notes" below.
- Garlic. I love LOTS of garlic in my garlic-chili crunch!
- Salt. To taste.
How to Make Serrano-Garlic Chili Crunch (Step by Step)
Heat the Oil and Serrano Peppers. Add the vegetable oil and minced serrano peppers to a small saucepan. Set the heat to medium-low.
Let the mixture gently simmer for about 15 minutes, stirring occasionally.
You’re infusing the oil with chili flavor while slowly drawing out moisture to help the bits crisp later. Avoid high heat to prevent burning.
Add the Garlic. Stir in the minced garlic and continue to simmer for another 8–10 minutes, or until the garlic and pepper bits turn a deep golden brown and begin to crisp.
Keep an eye on it during the last few minutes. Stir more frequently to prevent burning. If the pieces are finely minced, they may brown more quickly.
Strain and Cool. Remove the pan from heat and allow it to cool slightly, about 5 minutes. Carefully strain the hot oil into a heatproof bowl or measuring cup. Use a fine mesh strainer to catch all the crispy bits.
Crisp the Bits. Let the strained solids sit in the strainer for 5-10 minutes to finish crisping in the open air.
If they don’t feel crispy enough, you can sauté them in a dry skillet or with a spoonful of the oil over medium heat for a few minutes until they reach your desired crunch.
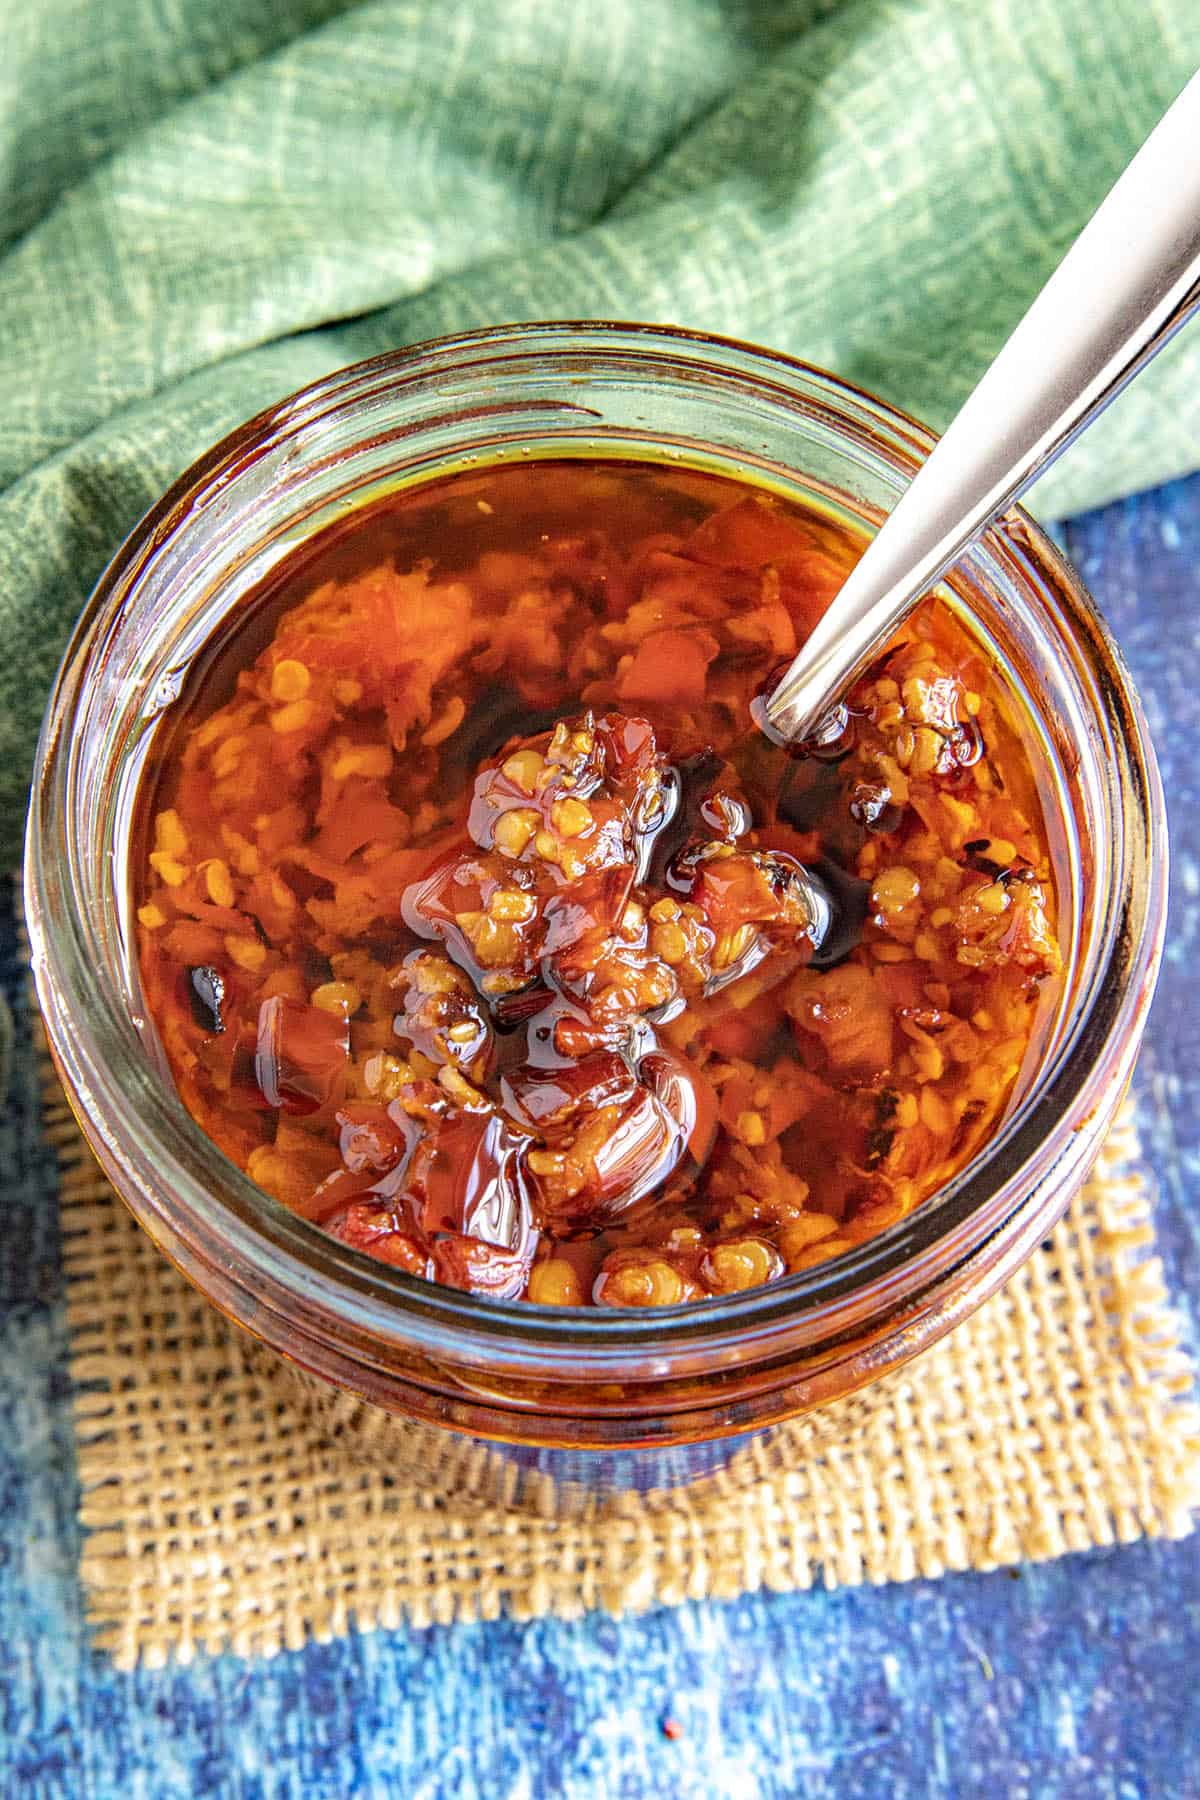
Combine and Season. Once the bits are crisp, swirl them back into the infused oil. Add the salt and stir well to combine. Taste and adjust salt if needed.
Transfer the finished chili crunch to a clean jar. Let it cool completely, then cover and refrigerate. Stir before each use, as the crispy bits may settle.
Boom! Done! Your chili crunch is ready to serve. What are putting yours on?
Recipe Tips & Notes
- This is a fantastic base recipe. Try it as-is, or riff on it with other ingredients like shallots, ginger, chili flakes, or soy sauce. See my Chili Crisp Recipe for more ideas.
- Chili Peppers. This recipe works with any chili peppers. Use poblanos or Anaheims for a mild version. Go with habaneros, datils, or Scotch bonnets for some fiery heat. Consider ghost chilies are superhots like scorpions for real killer chili crunch. Just don't let the heat overwhelm the flavor.
Uses for Serrano-Garlic Chili Crunch
This crispy, spicy condiment is a flavor bomb you’ll want on everything. Here are some favorite ways to use it:
- Mix into mayo or sour cream for a fiery spread
- Spoon over eggs, rice bowls, or noodles
- Drizzle on avocado toast, tacos, or grilled meats
- Swirl into soups, broths, or dipping sauces
- The possibilities are endless...
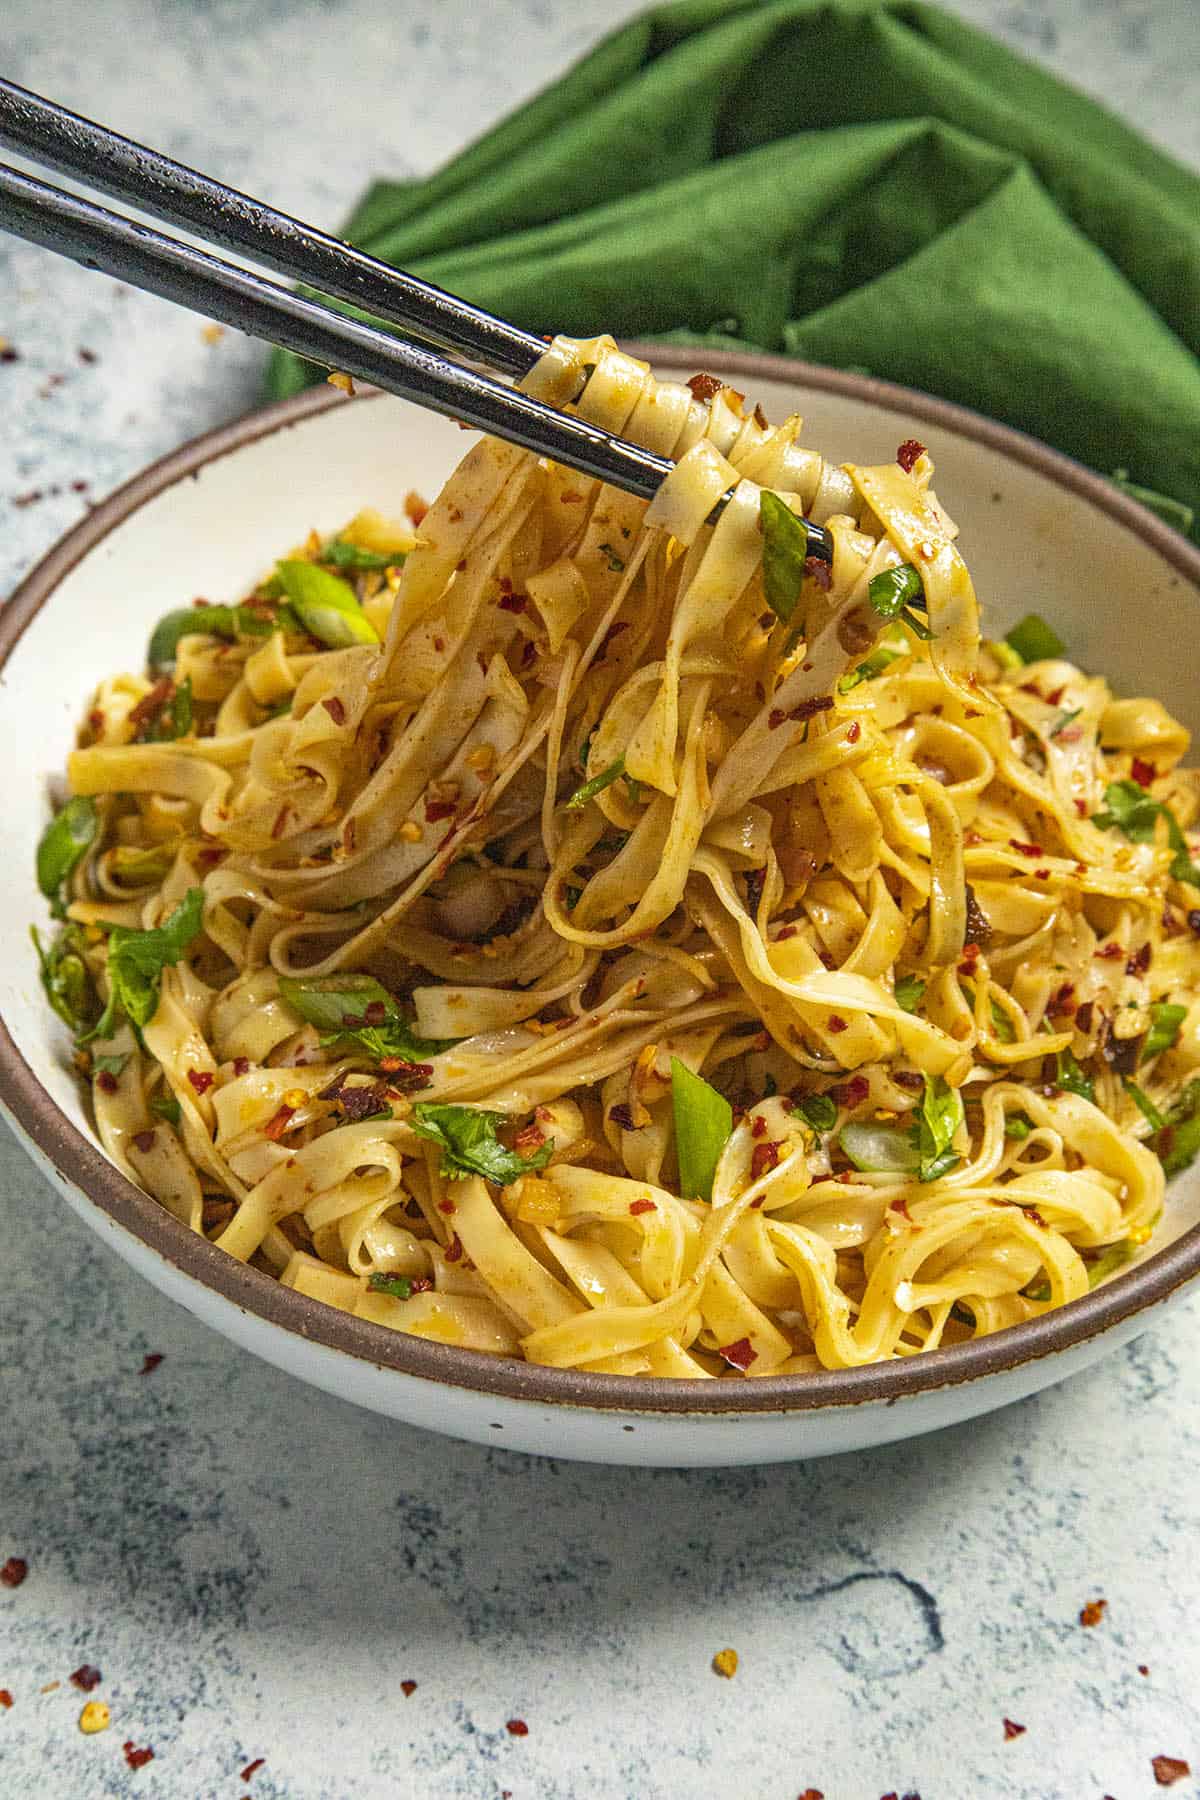
Try it on some my recipes like chili crisp noodles, Spicy Ramen Noodles, Gochujang Noodles (Spicy Korean Noodles) Chili Crisp Shrimp, or other Spicy Noodles!
Storage
Store your serrano-garlic chili crunch in a sealed jar or airtight container in the refrigerator for up to 1 month, though it’s best within 2–3 weeks for peak flavor and crunch.
The crispy bits may settle in the oil, so give it a good stir each time. Always use a clean, dry spoon to avoid contamination.
You can freeze the crunchy bits (without the oil) in a freezer-safe container for up to 3 months. Let them thaw and crisp them in a dry skillet if needed before mixing back into the oil.
Because this recipe contains fresh garlic and peppers, it is not shelf-stable for long-term pantry storage. Refrigeration is required for food safety.
That's it, my friends. I hope you enjoy my homemade chili crunch recipe. I'd love to hear what you think!
Cookbook Recommendation
If you enjoy spicy cooking, I hope you'll check out my cookbook! 75 easy recipes with big, bold flavor.
- The Spicy Food Lovers' Cookbook, by Mike Hultquist (affiliate link, my friends!)
Recommended Products
- Lao Gan Ma Spicy Chili Crisp
- Don Chilio Chili Crisp (They sell different heat levels - jalapeno, serrano, and habanero)
- Fly By Jing Sichuan Chili Crisp
- Momofuku Chili Crunch
- Buy Chili Crisp
Amazon Affiliate links, my friends! As an Amazon Associate I earn from qualifying purchases.
Try Some of My Other Popular Recipes
- Salsa Macha is a Mexican version of chili crisp, depending on how you make it.
- Learn How to Make Chili Oil, which is a similar process.
- Learn How to Make Hot Honey to enjoy another amazing condiment for spicy food lovers.
Got any questions about this chili crunch? Ask away! I’m happy to help. If you enjoy this recipe, I hope you’ll leave a comment with some STARS. Also, please share it on social media. Don’t forget to tag us at #ChiliPepperMadness. I’ll be sure to share! Thanks! — Mike H.
Serrano-Garlic Chili Crunch Recipe
Ingredients
- 1.5 cups vegetable oil use good quality for best flavor
- 6-8 large serrano peppers minced (double for more "chili crunch")
- 10 cloves garlic minced (double for more "garlic crunch")
- ½ teaspoon salt or to taste
Instructions
- Add the oil and minced serrano peppers to a small pot. Heat to medium-low and simmer for 15 minutes, stirring occasionally.
- Add the garlic and simmer for another 10 minutes, or until the bits brown and start to crisp. Timing may vary depending on the size of your chopped ingredients.
- Remove from heat and let cool slightly. Strain into a heatproof bowl.
- Let the strained bits cool in the strainer. They will crisp up as they sit.
- Swirl the crispy bits back into the infused oil. Season with salt and mix well.
- Transfer to a jar, cover, and refrigerate. Stir before using.
Notes
- Not crispy enough? Heat the bits in a dry pan with a spoonful of the oil and sauté lightly until crisp. Then return to the jar.
- Want more crunch and less oil? Add the crispy bits to a jar and pour in just enough oil to cover. Reserve the remaining serrano-garlic chili oil for other uses. It’s delicious on everything!
Nutrition Information
Kristina says
How large is a large Serrano? Also, are they seeded first?
Mike Hultquist says
Kristina, about the size of an average jalapeno pepper, or use 2 smaller ones. I don't seed/core them, but you can for milder heat. Enjoy!
Lu Ann Strauss says
I would like to know if you can use frozen peppers?
Mike Hultquist says
You can, Lu Ann, though be sure to thaw and really dry them as much as you can, as the moisture from freezing can affect the recipe. Still works, though! Enjoy!
Joy Mulvey says
Hi, Could this recipe be canned for longer storage?
Thank you!
Mike Hultquist says
Joy, the USDA doesn't recommend home canning for products with oil. You might look into pressure canning, though.
Greg Thow says
Followed directions exactly and it's delicious (as are all of Mike's creations). It will be my default chili oil recipe going forward. If you use green serrano peppers (all my store had) your crisp won't be that signature reddish hue but it's fine - it tastes terrific. Even doubling the dry ingredients as Mike suggests I still had a lot of oil in ratio to the crispy stuff so I poured some off into a separate bottle for the times when I just want a drizzle of chili oil on something. A winner.
Mike Hultquist says
Thanks for sharing this, Greg! I appreciate it! Glad you're enjoying it.
ADRIAAN says
AS ALWAYS MIKE THE RECIPY IS GREAT I FOLLOWED YOUR STEPS TO THE LETTER AND FOUND NO NEED TO ALTER ANYTHING.
I LOVED IT IN A THIA CURRY DISH, YUM.
Mike H. says
Super happy to read this, Adriaan. Thank you!
Martti Putkonen says
Crunch recipe
1.5 cups vegetable oil use good quality for best flavor. How do I know which “good quality?
Mike Hultquist says
Martti, use a brand that you trust that does not cut corners when producing their oil, and one with flavor you enjoy. I hope this helps.
Randy Hill says
how bout adding a little Cilantro
Mike Hultquist says
I haven't tested this with fresh herbs. I'm sure it can work, though I wonder about the final color and water content. You might experiment with dried.
Sekulovski Becky says
We don’t use vegetable oil anymore
Can you recommend a substitute oil?
Mike Hultquist says
This works with other oils, like avocado oil or peanut oil. I haven't tried other alternatives.
Kozmo says
Greetings Mike. Thanks for this. I've used and loved your previous version of Chili Crisp for several years. It's great on everything. Yes, even ice cream.
You mention short shelf life in this version but not the older version. I've kept the older version in the fridge for a year and it seems fine, though it loses some crispiness. I appreciate the note in the current version on restoring crispiness.
Is the shelf life comment due to the increase in fresh serranos and garlic or do you expect it should be applied to both versions?
thanks
Mike Hultquist says
Thanks, Kozmo! It's really more cautionary due to the amount of garlic, but honestly, this one should last as long as the other.